
A couple weeks ago I saw a bunch of old windows for sale on a Facebook tag sale site.
I knew exactly what I wanted to do with them, and I offered the guy selling them $3 a piece for the whole lot.
He agreed, and I got a whole bunch of them.
I knew exactly what I wanted to do with a couple of them — turn them into picture frames.
Here’s what they looked like when I first got them:
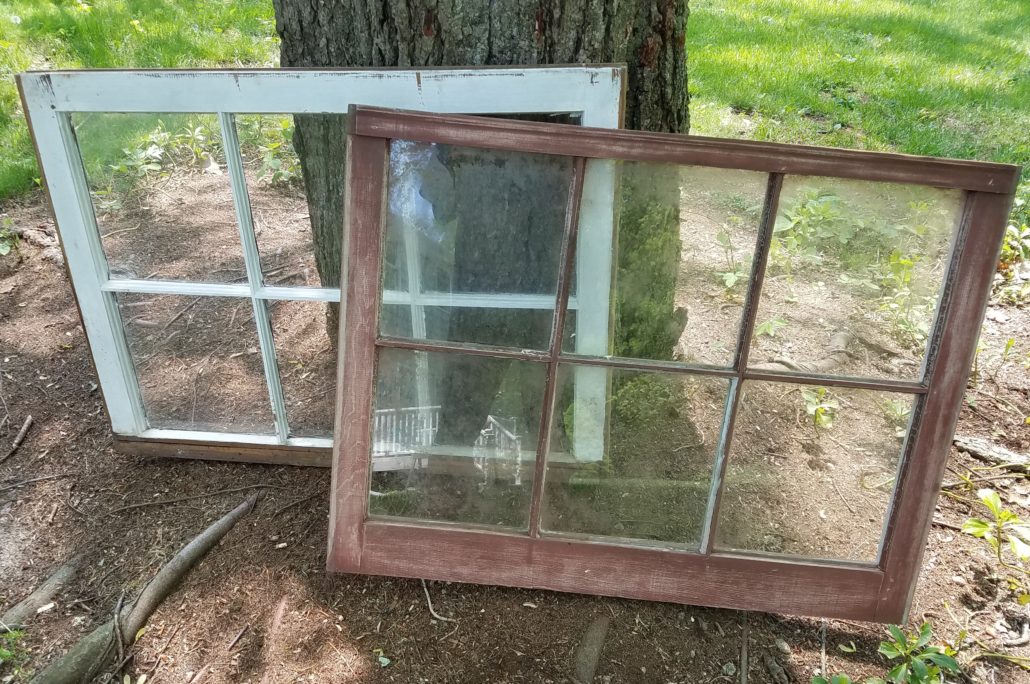
They were white on one side and a maroonish/brown color on the other side.
I wanted to use the white side, but I didn’t want to repaint them. I wanted them to look old and worn, which they already were, but they needed a little cleaning up.
So I sanded them a little with the sander to smooth them out.

Then I sanded any little areas that were flaky by hand.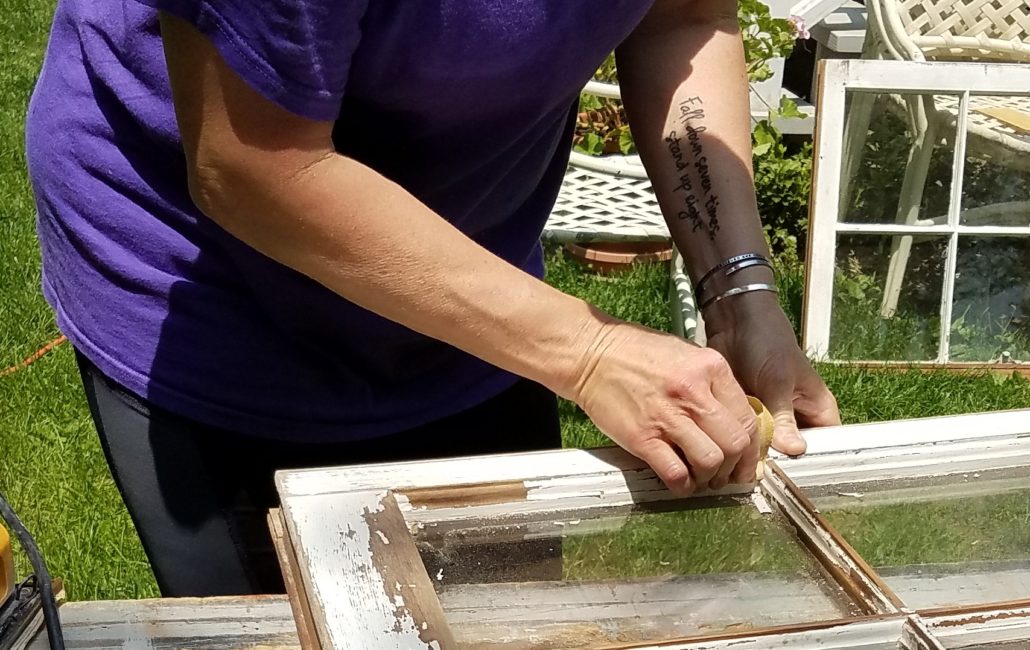
I screwed two eye hooks into the back of the frame and ran some picture wire through them so I could hang it up when I was done.
Then I washed off the windows, and they were good to go.
Here’s a closer look:
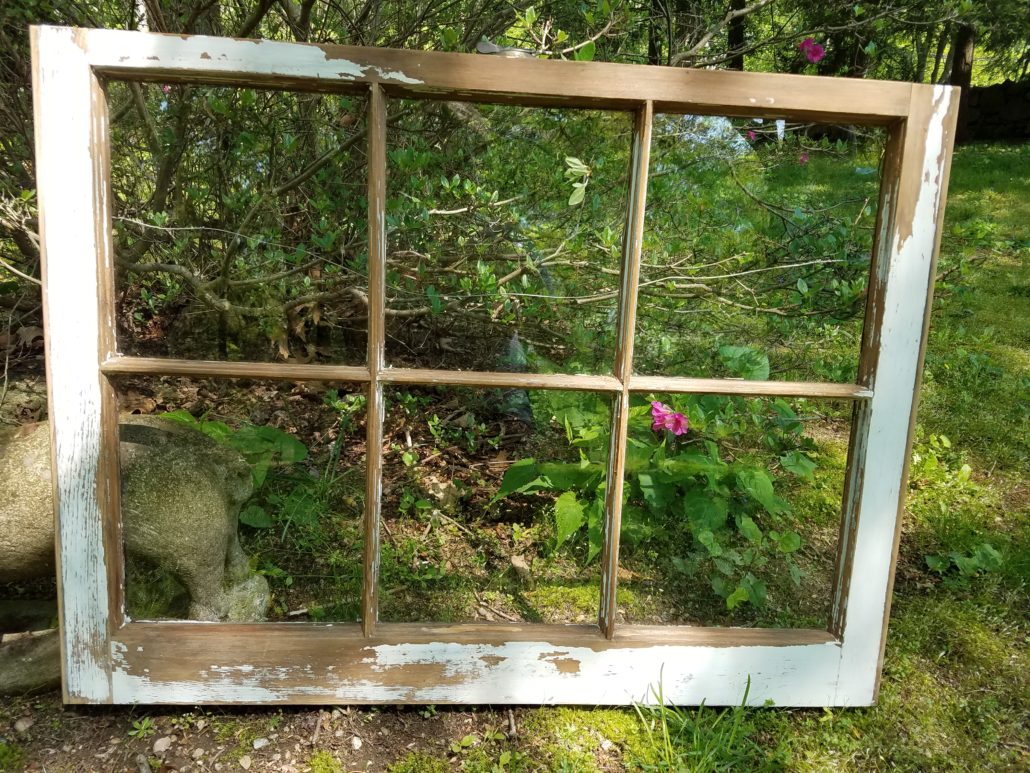
The window panes are kind of an odd size — 9(ish) inches square, and I didn’t have six 8X10 photos I wanted to group together, so I just printed out a bunch of pictures on regular old paper.
I printed some in color from vacations to the beach and also some black and white head shots of the kids from about seven years ago before Number 7 was even born.
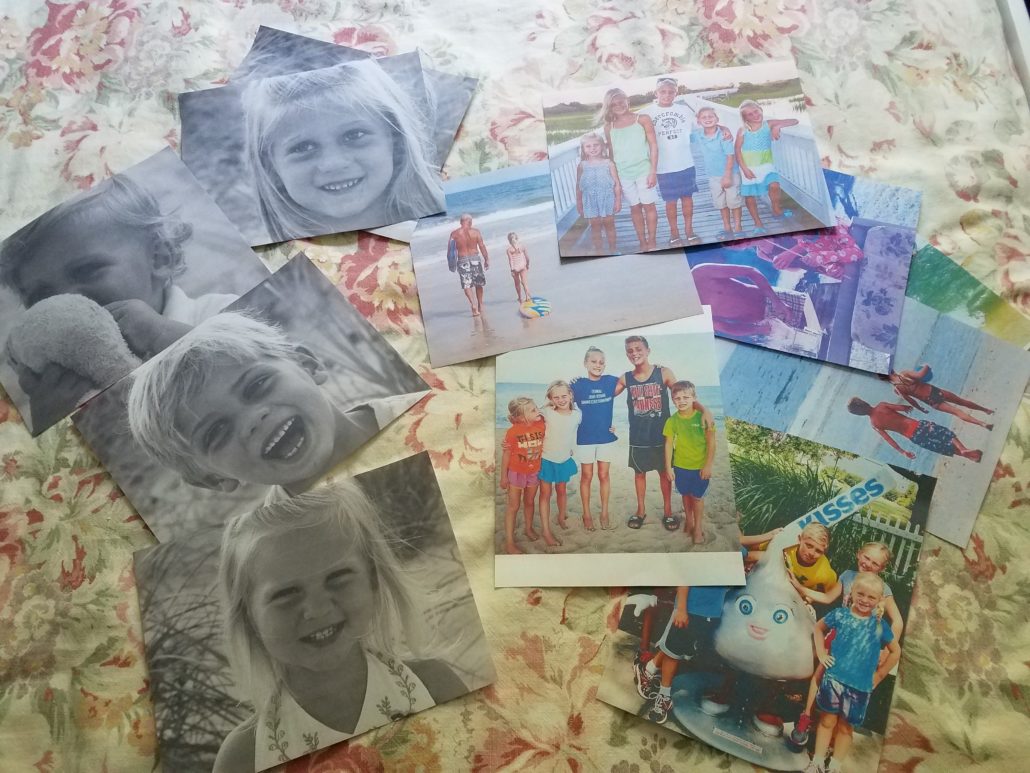
I kind of liked the faded look of the pictures on the paper. Plus, I had to cut them and I wasn’t ready to permanently cut any “good” pictures.
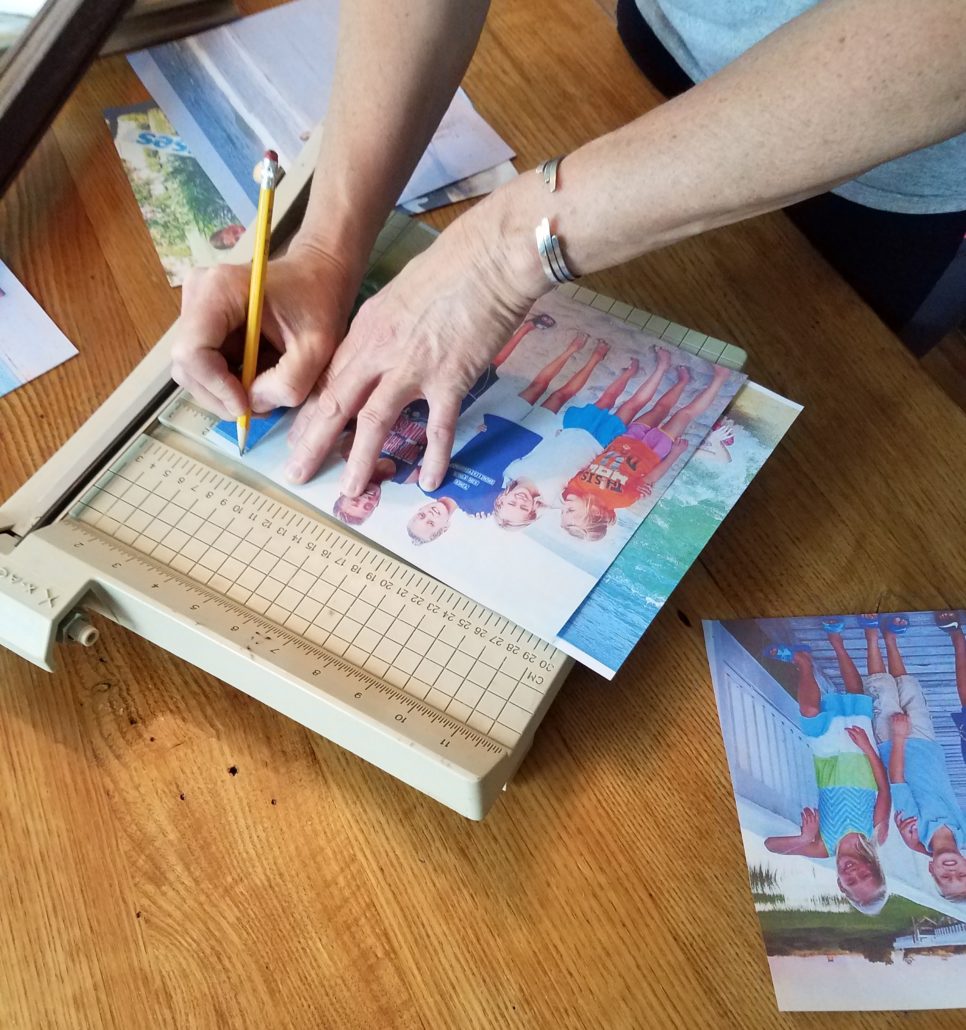
So I measured and marked them, and then I cut them all to the same size with a paper cutter.
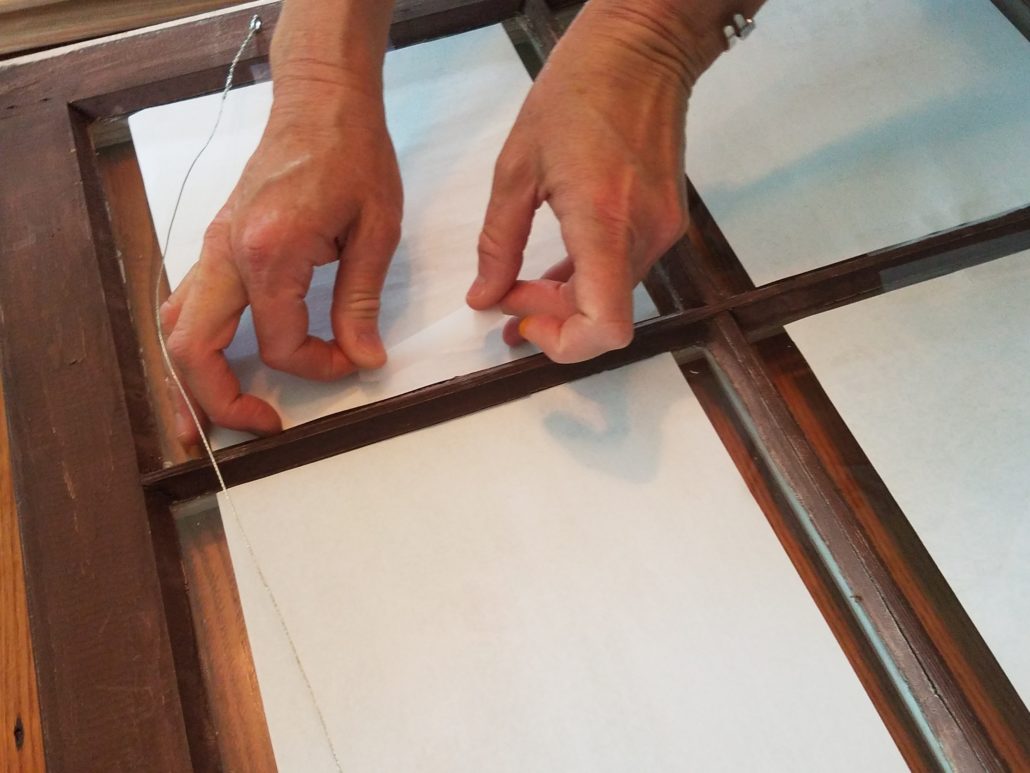
Next I used regular transparent tape to just tape the pictures into the frame.
And that was it!
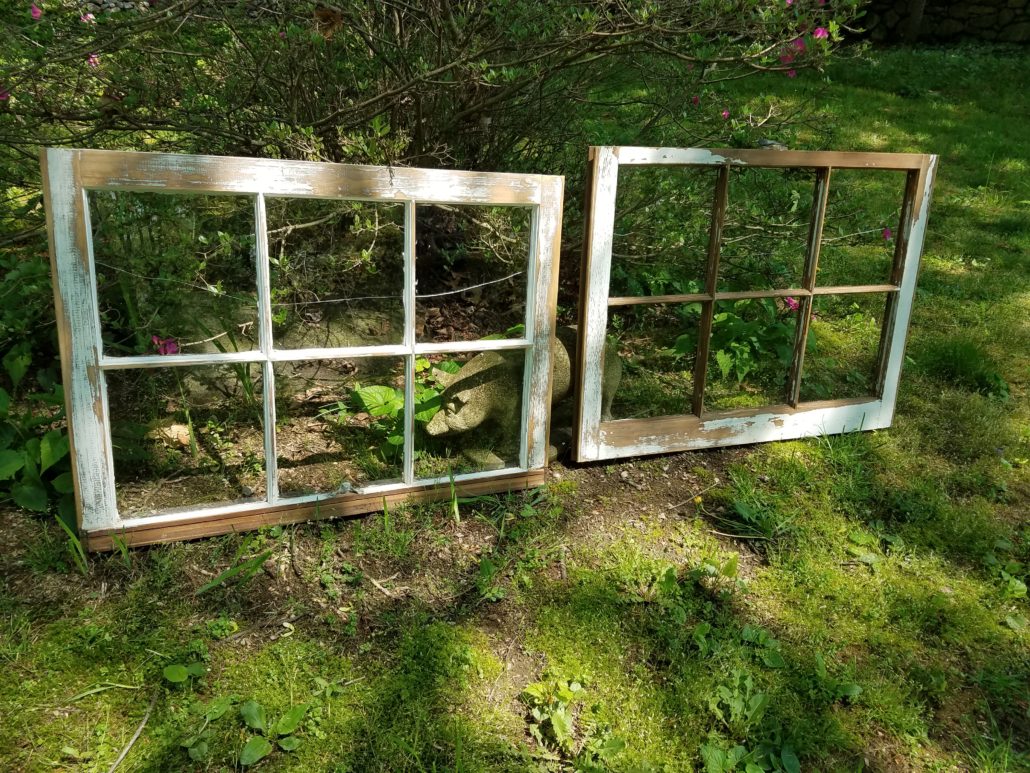
Now I have two frames that I LOVE!
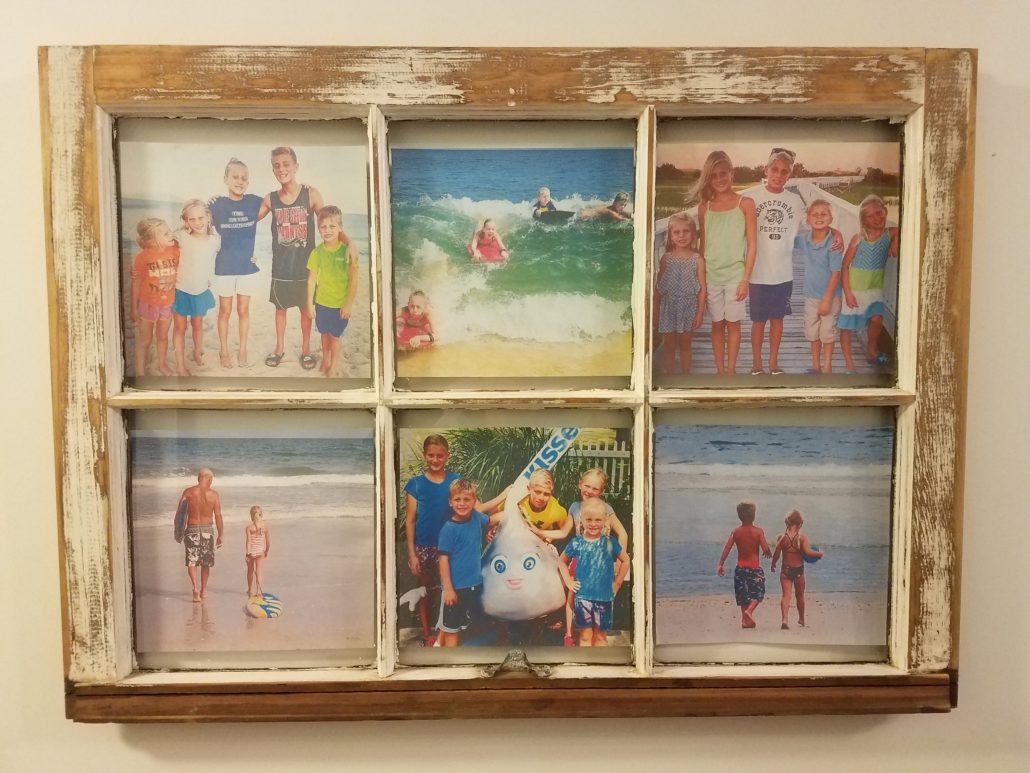

You really can’t see the tape unless you are looking for it, and now I can easily change the pictures out if I want at some point down the line. I may even use them to display some of the kids’ art work.
I LOVE how they both look, but I especially love how this one looks in my kitchen.
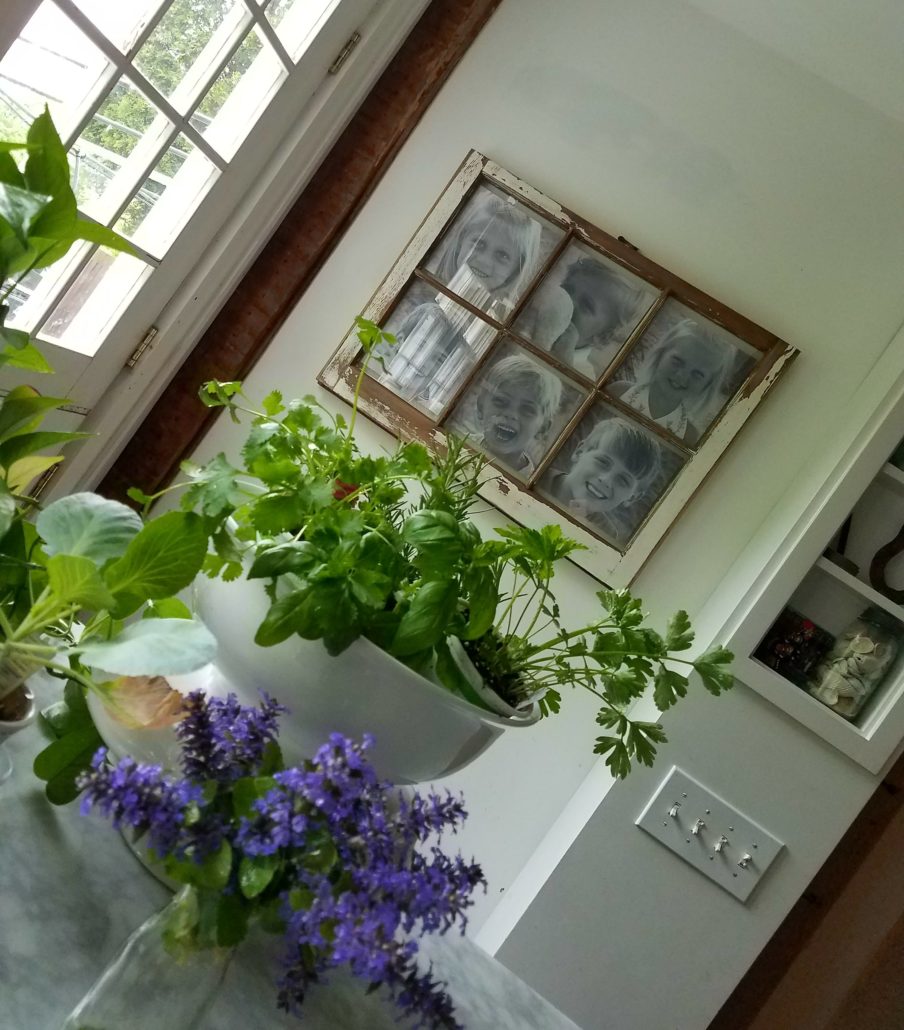
And each frame only cost me $3!
Next time you come across some old windows or if you have any lying around your house, maybe you can make one for yourself, too.
If you can’t do a push-up, CLICK HERE and let’s change that.

Those are really great!
Love the whole project! The simplicity of “making” the frames and the finished display is gorgeous. Thanks for sharing!
You’re terrific!!! Well done!!!
LOVE❤️