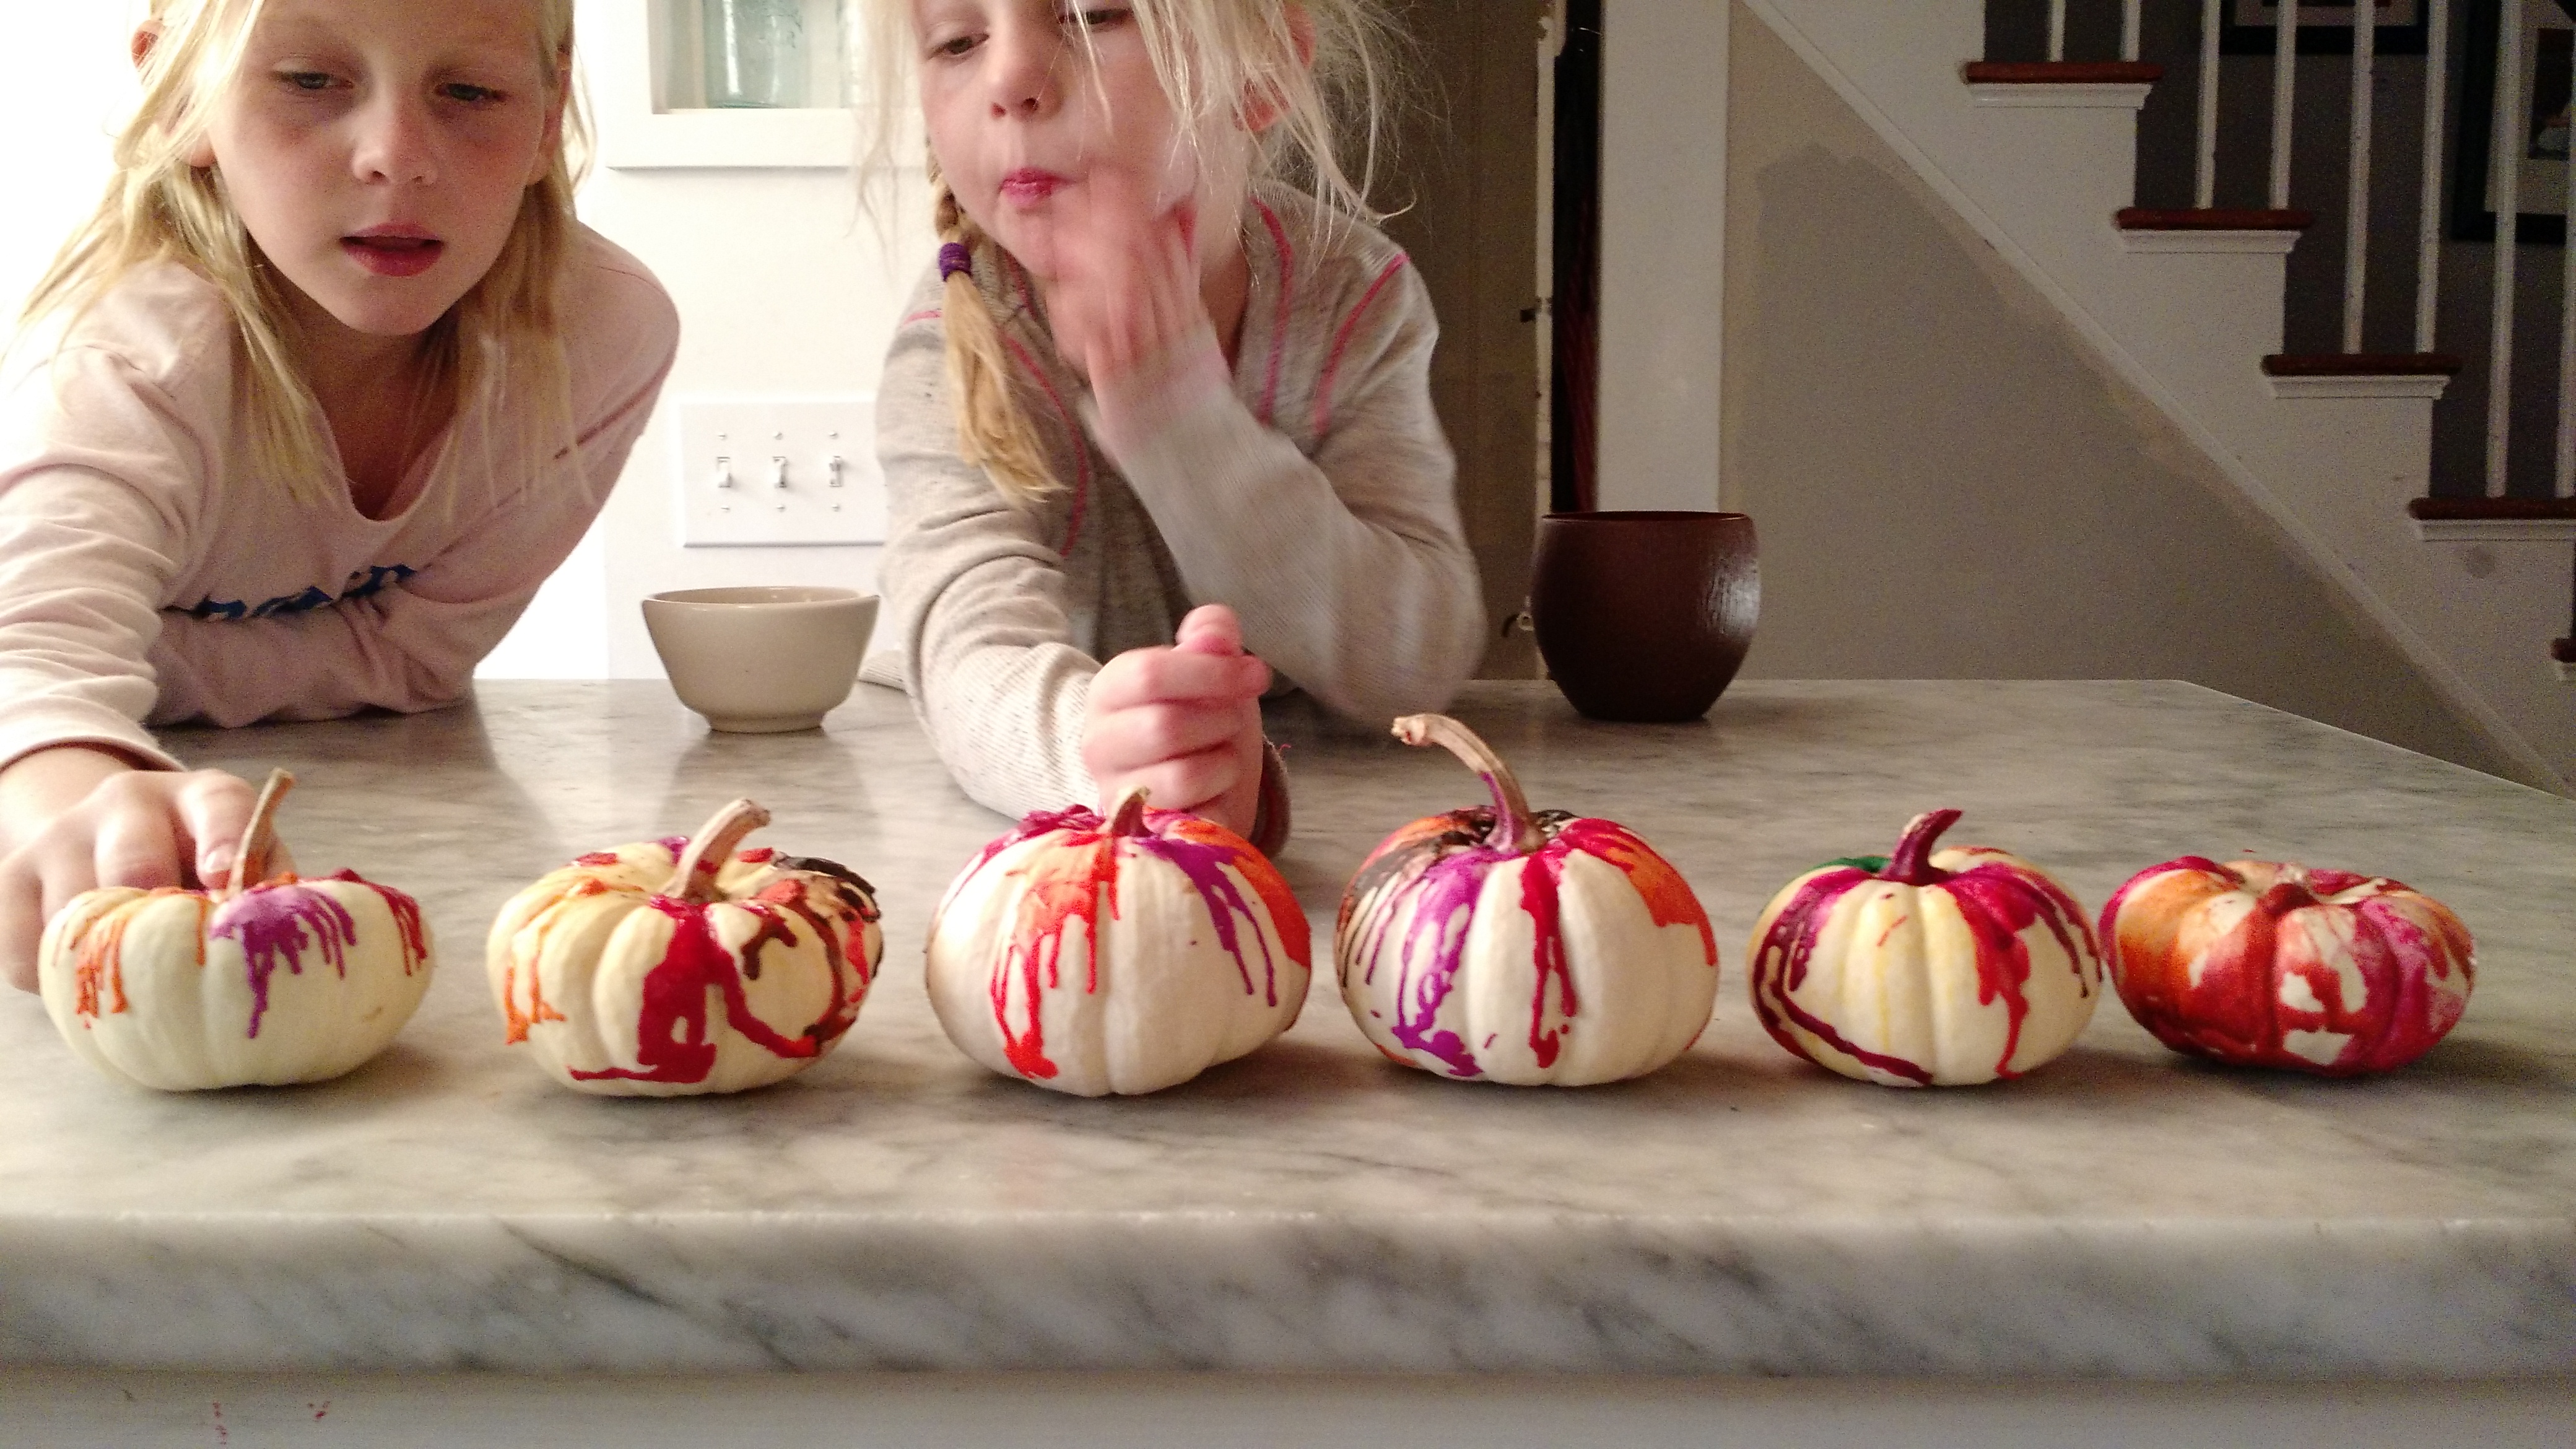
A couple days ago a friend of mine posted a picture of a pumpkin her daughter made.
I had never seen anything like it before, but I thought it was so cute.

I Googled how to do this, and all you needed was some crayons, a little glue, a pumpkin and a hair dryer.
I was going to try to do this with the kids, but then I knew everyone would be fighting over one pumpkin. And these white pumpkins aren’t cheap. I wasn’t going to buy six of them.
So I did something else.
I bought two bags of white gourds. I used one bag to practice on, and then I let the kids each make their own with the other bag.

Instead of using entire crayons like they do for the big pumpkins, I took pieces of broken crayon, and I used those.
I realized after my first one that the pieces had to be pretty small.
So I sliced the pieces up with a knife to make them smaller.

I didn’t have any Elmer’s glue, so I had to use the hot glue gun to stick the crayons to the gourds.

I learned you only need a tiny drop of glue. But if you don’t use it, you just blow the pieces across the room so you have to make them stick onto the gourds with something. If you have plain Elmer’s glue, I’d go with that over the glue gun.
Once you have your colors attached, grab a hair dryer and melt the crayon pieces.

Number 7 helped me out with mine. I stuck with fall-ish colors because I was going to put them on the mantel in the dining room and I wanted to keep them out through Thanksgiving.
Aren’t they cute?

I put some on the shelves in the kitchen. I love them!

Next, the kids all did one of their own.
They were a little more creative with the colors.
I put a little drop of hot glue on the gourd and they put the colors they wanted into the glue (very carefully).

They were each totally able to handle the hair dryer themselves with no problem.


Super cute, right?

They each put their “pumpkin” up in their rooms.
I love them, and now we’ve found a use for those broken crayons!


Leave a Reply